lock Ram 1500 2013 Get to Know Guide
[x] Cancel search | Manufacturer: RAM, Model Year: 2013, Model line: 1500, Model: Ram 1500 2013Pages: 196, PDF Size: 9.66 MB
Page 101 of 196

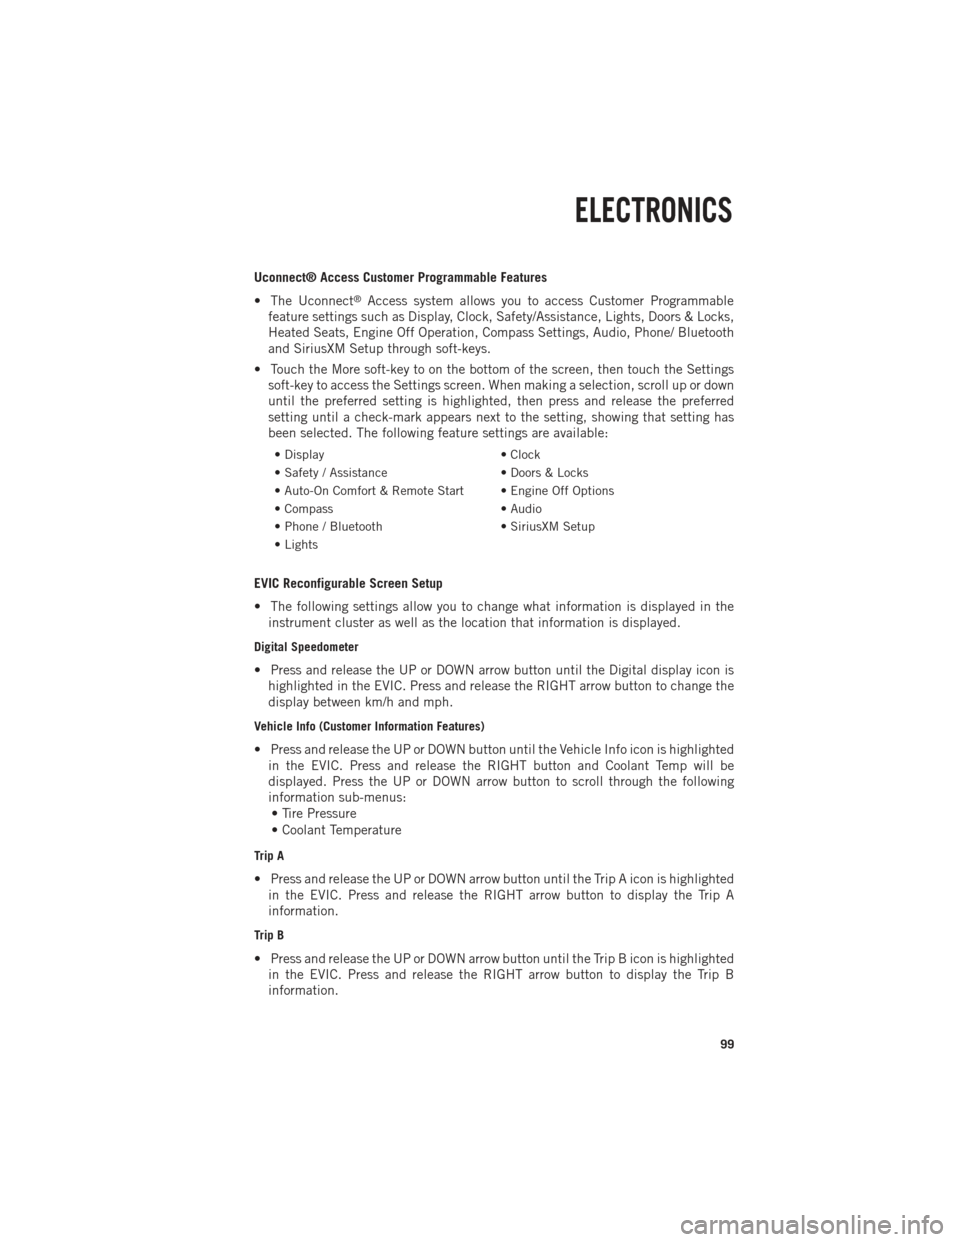
Uconnect® Access Customer Programmable Features
• The Uconnect
®Access system allows you to access Customer Programmable
feature settings such as Display, Clock, Safety/Assistance, Lights, Doors & Locks,
Heated Seats, Engine Off Operation, Compass Settings, Audio, Phone/ Bluetooth
and SiriusXM Setup through soft-keys.
• Touch the More soft-key to on the bottom of the screen, then touch the Settings soft-key to access the Settings screen. When making a selection, scroll up or down
until the preferred setting is highlighted, then press and release the preferred
setting until a check-mark appears next to the setting, showing that setting has
been selected. The following feature settings are available:
• Display • Clock
• Safety / Assistance • Doors & Locks
• Auto-On Comfort & Remote Start • Engine Off Options
• Compass • Audio
• Phone / Bluetooth • SiriusXM Setup
• Lights
EVIC Reconfigurable Screen Setup
• The following settings allow you to change what information is displayed in the instrument cluster as well as the location that information is displayed.
Digital Speedometer
• Press and release the UP or DOWN arrow button until the Digital display icon ishighlighted in the EVIC. Press and release the RIGHT arrow button to change the
display between km/h and mph.
Vehicle Info (Customer Information Features)
• Press and release the UP or DOWN button until the Vehicle Info icon is highlightedin the EVIC. Press and release the RIGHT button and Coolant Temp will be
displayed. Press the UP or DOWN arrow button to scroll through the following
information sub-menus:• Tire Pressure
• Coolant Temperature
Trip A
• Press and release the UP or DOWN arrow button until the Trip A icon is highlighted in the EVIC. Press and release the RIGHT arrow button to display the Trip A
information.
Trip B
• Press and release the UP or DOWN arrow button until the Trip B icon is highlightedin the EVIC. Press and release the RIGHT arrow button to display the Trip B
information.
ELECTRONICS
99
Page 105 of 196

Using HomeLink®
• To operate, press and release the programmed HomeLink
®button. Activation will
now occur for the programmed device (i.e., garage door opener, gate operator,
security system, entry door lock, home/office lighting, etc.,). The hand-held
transmitter of the device may also be used at any time.
WARNING!
• Your motorized door or gate will open and close while you are programming the universal transceiver. Do not program the transceiver if people or pets are in the
path of the door or gate.
• Do not run your vehicle in a closed garage or confined area while programming
the transceiver. Exhaust gas from your vehicle contains Carbon Monoxide (CO)
which is odorless and colorless. Carbon Monoxide is poisonous when inhaled
and can cause you and others to be severely injured or killed.
POWER INVERTER
• A 115 Volt, 150 Watt power inverteroutlet is located on the lower instru-
ment panel next to the climate control
knob. This outlet can power cellular
phones, electronics and other low
power devices requiring power up to
150 Watts.
• To turn on the power outlet, simply plug in the device. The outlet auto-
matically turns off when the device is
unplugged.
NOTE:
The power inverter is designed with
built-in overload protection. If the power
rating of 150 Watts is exceeded, the
power inverter will automatically shut down. Once the electrical device has been
removed from the outlet, the inverter should automatically reset.
WARNING!
To Avoid Serious Injury or Death DO NOT:
• insert any objects into the receptacles
• touch with wet hands
Close the lid when not in use. If this outlet is mishandled, it may cause an electric
shock and failure.
ELECTRONICS
103
Page 107 of 196

FOUR WHEEL DRIVE OPERATION
FOUR-POSITION/PART TIME TRANSFER CASE
• The transfer case provides four modepositions:• Two-wheel drive high range (2WD)
• Four-wheel drive high range
(4WD LOCK)
• NEUTRAL (N)
• Four-wheel drive low range (4WD LOW)
• This transfer case is intended to be driven in the 2WD position for normal
street and highway conditions, such as
dry, hard-surfaced roads.
• When additional traction is required, the 4WD LOCK and 4WD LOW posi-
tions can be used to lock the front and
rear driveshafts together.
• When operating your vehicle in 4WD LOW, do not exceed 25 mph (40 km/h).
Shifting Procedure
• Shifting between 2WD and 4WD LOCK can be made with the vehicle stopped or in motion at speeds up to 55 mph (88 km/h).
• Shifting between 2WD or 4WD LOCK into 4WD LOW must be made with the transmission in NEUTRAL and the vehicle stopped or rolling at 2 to 3 mph
(3 to 5 km/h).
OFF-ROAD CAPABILITIES
105
Page 108 of 196

FIVE-POSITION/ON-DEMAND TRANSFER CASE
•
This electronically shifted transfer case
provides five mode positions:
• Two-wheel drive high range (2WD)
• Four-wheel drive automatic range
(4WD AUTO)
• Four-wheel drive lock range (4WD LOCK)
• Four-wheel drive low range (4WD LOW)
• NEUTRAL (N)
•
This electronically shifted transfer case
is designed to be driven in the two-wheel
drive position (2WD) or four-wheel drive
position (4WD AUTO) for normal street
and highway conditions on dry, hard-
surfaced roads.
• Driving the vehicle in 2WD will have greater fuel economy benefits as the front axle is not engaged in 2WD.
Shifting Procedure
• Shifting between 2WD and 4WD AUTO or 4WD LOCK can be made with the vehicle stopped or in motion at speeds up to 55 mph (88 km/h).
• Shifting between 2WD, 4WD AUTO and 4WD LOCK into 4WD LOW must be made with the transmission in NEUTRAL and the vehicle stopped or rolling at 2 to 3 mph
(3 to 5 km/h).
NOTE:
It is preferred to have the engine running and the vehicle moving at 2 to 3 mph
(3 to 5 km/h).
WARNING!
You or others could be injured if you leave the vehicle unattended with the transfer
case in the NEUTRAL position without first fully engaging the parking brake. The
transfer case NEUTRAL position disengages both the front and rear driveshafts
from the powertrain and will allow the vehicle to move regardless of the transmis-
sion position. The parking brake should always be applied when the driver is not
in the vehicle.
OFF-ROAD CAPABILITIES
106
Page 109 of 196

FIVE-POSITION/ON-DEMAND TRANSFER CASE
•
This electronically shifted transfer case
provides five mode positions:
• Two-wheel drive high range (2WD)
• Four-wheel drive automatic range
(4WD AUTO)
• Four-wheel drive lock range (4WD LOCK)
• Four-wheel drive low range (4WD LOW)
• NEUTRAL (N)
•
This electronically shifted transfer case
is designed to be driven in the two-wheel
drive position (2WD) or four-wheel drive
position (4WD AUTO) for normal street
and highway conditions on dry, hard-
surfaced roads.
•Driving the vehicle in 2WD will have greater fuel economy benefits as the front axle
is not engaged in 2WD.
Shifting Procedure
• Shifting between 2WD and 4WD AUTO or 4WD LOCK can be made with the vehicle stopped or in motion at speeds up to 55 mph (88 km/h).
• Shifting between 2WD, 4WD AUTO and 4WD LOCK into 4WD LOW must be made with the transmission in NEUTRAL and the vehicle stopped or rolling at 2 to 3 mph
(3 to 5 km/h).
NOTE:
It is preferred to have the engine running and the vehicle moving at 2 to 3 mph
(3 to 5 km/h).
WARNING!
You or others could be injured if you leave the vehicle unattended with the transfer
case in the NEUTRAL position without first fully engaging the parking brake. The
transfer case NEUTRAL position disengages both the front and rear driveshafts
from the powertrain and will allow the vehicle to move regardless of the transmis-
sion position. The parking brake should always be applied when the driver is not
in the vehicle.
OFF-ROAD CAPABILITIES
107
Page 110 of 196

TONNEAU COVER
• The Tonneau Cover can be removed and reinstalled by using the locking clampslocated underneath the Tonneau Cover.
NOTE:
Be sure that the Tonneau Cover is secured before driving.
EASY-OFF TAILGATE
•To simplify mounting of a camper unit with an overhang, the tailgate can be removed.
NOTE:
If your vehicle is equipped with a rear camera or RKE the electrical connector must
be disconnected prior to removing the tailgate.
Removing the Tailgate
• Disconnect the wiring harness for the rear camera or RKE (if equipped).
• Unlatch the tailgate and remove the support cables by releasing the lock tang from the pivot.
• Raise the right side of the tailgate until the right side pivot clears the hanger bracket.
• Slide the entire tailgate to the right to free the left side pivot.
• Remove the tailgate from the vehicle.
NOTE:
Do not carry the tailgate loose in the truck pickup box.
Locking Tailgate
• The lock is located next to the tailgate handle. The tailgate can be locked using the vehicle key.
WARNING!
To avoid inhaling carbon monoxide, which is deadly, the exhaust system on vehicles
equipped with “Cap or Slide-In Campers” should extend beyond the overhanging
camper compartment and be free of leaks.
UTILITY
108
Page 112 of 196

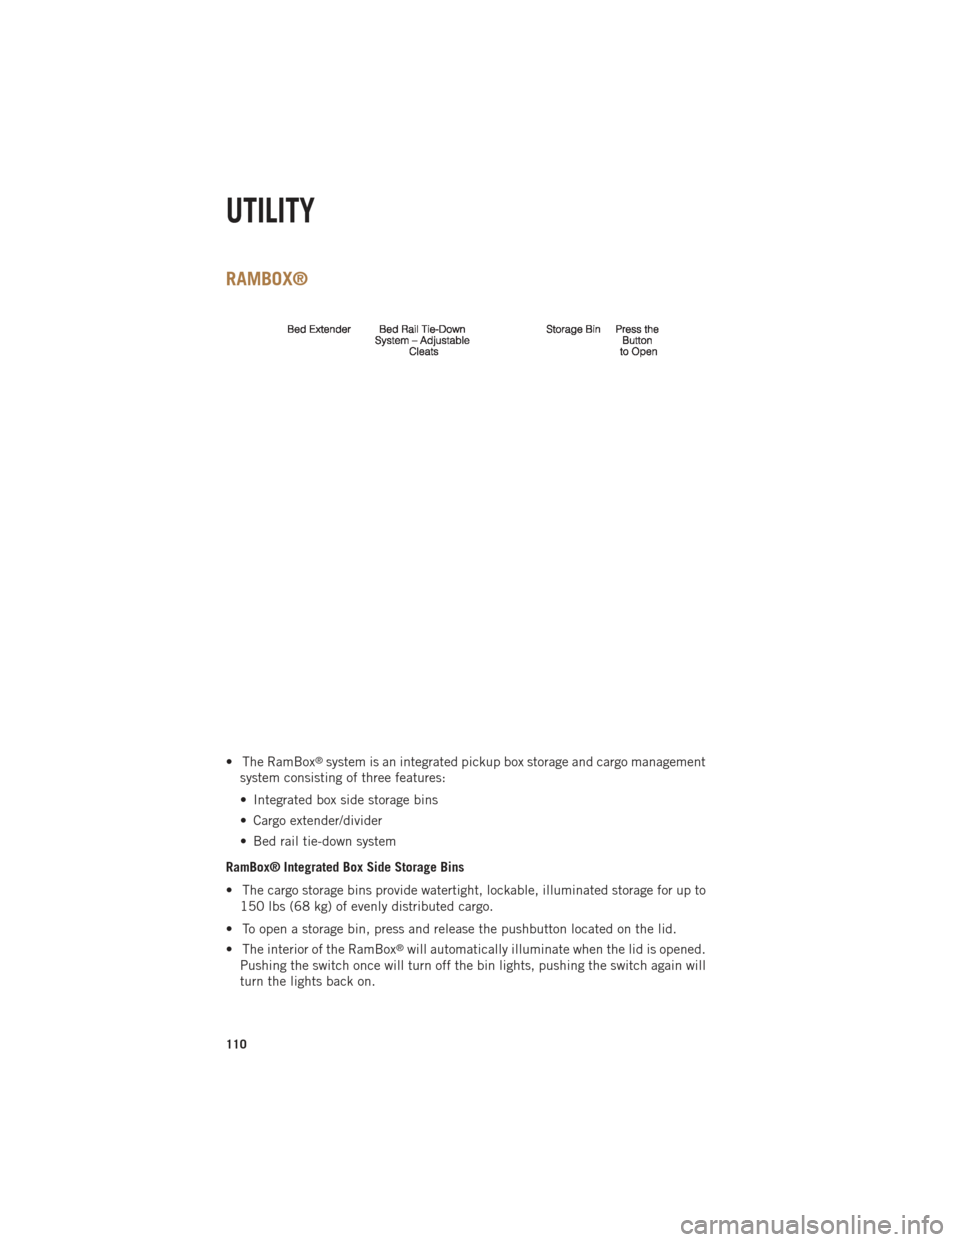
RAMBOX®
• The RamBox®system is an integrated pickup box storage and cargo management
system consisting of three features:
• Integrated box side storage bins
• Cargo extender/divider
• Bed rail tie-down system
RamBox® Integrated Box Side Storage Bins
• The cargo storage bins provide watertight, lockable, illuminated storage for up to 150 lbs (68 kg) of evenly distributed cargo.
• To open a storage bin, press and release the pushbutton located on the lid.
• The interior of the RamBox
®will automatically illuminate when the lid is opened.
Pushing the switch once will turn off the bin lights, pushing the switch again will
turn the lights back on.
UTILITY
110
Page 113 of 196

•Storage bins feature two removable drain plugs (to allow water to drain from bins).
To remove plug, pull up on the edge. To install, push plug downward into drain hole.
• The RamBox®storage bins can be locked and unlocked using the vehicle key or
the remote keyless entry transmitter.
NOTE:
Provisions are provided in the bins for cargo dividers and shelf supports. These
accessories (in addition to other RamBox
®accessories) are available from MOPAR®.
RamBox® Storage Bin Cover Emergency Release Lever
• As a security measure, a Storage Bin Cover Emergency Release is built into the storage bin cover latching mechanism.
NOTE:
In the event of an individual being locked inside the storage bin, the storage bin cover
can be opened from inside of the bin by pulling on the glow-in-the-dark lever
attached to the storage bin cover latching mechanism.
Bed Extender
• The bed extender has three functional positions: • Storage Position
• Divider Position
• Extender Position
Storage Position
• The storage position for the bed extender is at the front of the truck bed.
• To install the bed extender into the storage position, perform the following:• Make sure the center handle is unlocked using the vehicle key and rotate thecenter handle vertically to release the extender side gates.
• With the side gates open, position the extender fully forward in the bed against the front panel.
• Rotate the side gates closed allowing the outboard ends to be positioned in front of the cargo tie-down loops.
• Rotate the center handle horizontally to secure the side gates in the closed position.
• Lock the center handle using the vehicle key to secure the panel into place and assist against theft.
UTILITY
111
Page 114 of 196

Divider Position
• There are 11 divider slots along the bed inner panels which allow for variouspositions to assist in managing your cargo.
• To install the bed extender into a divider position perform the following: • Make sure the center handle is unlocked using the vehicle key and rotate thecenter handle vertically to release the extender side gates.
• With the side gates open, position the extender so the outboard ends align with the intended slots in the sides of the bed.
• Rotate the side gates closed so that the outboard ends are secured into the intended slots of the bed.
• Rotate the center handle horizontally to secure the side gates in the closed position.
• Lock the center handle to secure the panel into place and assist against theft.
Extender Position
• The bed extender will add an additional 15 in (38 cm) in the back of the truck when additional cargo room is needed.
• To install the bed extender into the extender position, perform the following: • Lower the tailgate.
• Make sure the center handle is unlocked and rotate the center handle verticallyin order to release the extender side gates.
• Fit the end of the side gate ends onto the pin and handle.
• Rotate the handles to the horizontal position to secure into place.
Bed Rail Tie-Down System
• There are two adjustable cleats on each side of the bed that can be used to assist in securing cargo.
• Each cleat must be located and tightened down in one of the detents, along either rail, in order to keep cargo properly secure.
• To move the cleat to any position on the rail, turn the nut counterclockwise, approximately three turns. Then, pull out on the cleat and slide it to the detent
nearest the desired location. Make sure the cleat is seated in the detent and
tighten the nut.
• To remove the cleats from the utility rail, remove the end cap by pushing up on the locking tab, located on the bottom of the end cap. Slide the cleat off the end of the
rail.
UTILITY
112
Page 115 of 196

CAUTION!
• Failure to follow the following items could cause damage to the vehicle:• Assure that all cargo inside the storage bins is properly secured.
• Do not exceed cargo weight rating of 150 lb (68 kg) per bin.
• Leaving the lid open for extended periods of time could cause the vehiclebattery to discharge. If the lid is required to stay open for extended periods
of time, it is recommended that the bin lights be turned off manually using
the on/off switch.
• Ensure cargo bin lids are closed and latched before moving or driving
vehicle.
• Loads applied to the top of the bin lid should be minimized to prevent
damage to the lid and latching/hinging mechanisms.
• Damage to the RamBox
®bin may occur due to heavy/sharp objects placed
in bin that shift due to vehicle motion. In order to minimize potential for
damage, secure all cargo to prevent movement and protect inside surfaces
of bin from heavy/sharp objects with appropriate padding.
• The maximum load per cleat should not exceed 250 lbs (113 kg) and the
angle of the load on each cleat should not exceed 60 degrees above
horizontal, or damage to the cleat or cleat rail may occur.
WARNING!
•Always close the storage bin covers when your vehicle is unattended or in motion.
• Do not allow children to have access to the storage bins. Once in the storagebin, young children may not be able to escape. If trapped in the storage bin,
children can die from suffocation or heat stroke.
• In a collision, serious injury could result if the storage bin covers are not
properly latched.
• Do not use a storage bin latch as a tie down.
• To reduce the risk of potential injury or property damage:
• Cargo must be secured.
• Do not exceed cargo load rating of your vehicle.
• Secure all loads to truck utilizing cargo tie-downs.
• Extender should not be used as cargo tie-down.
•
When vehicle is in motion do not exceed 150 lbs (68 kg) load on the tailgate.
• The bed extender is not intended for off road use.
•
When not in use, the extender/divider should be in stowed or divider position
with the tailgate closed.
• When in use, all handles are to be in the locked position.
UTILITY
113